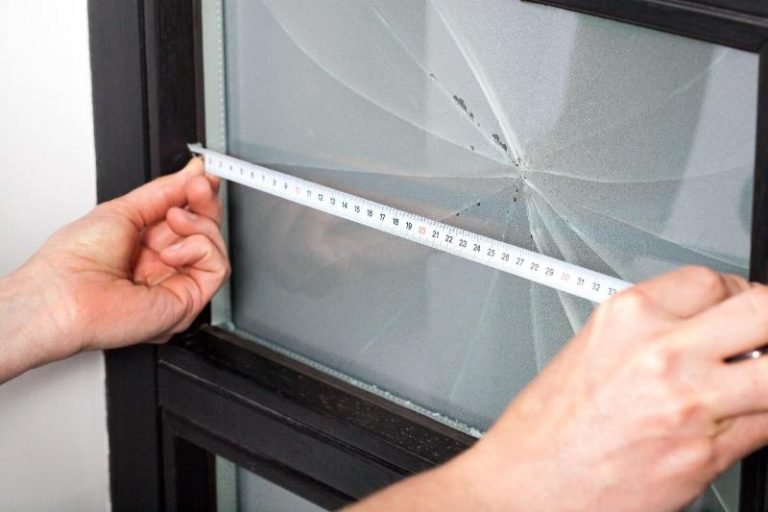
A broken window can be a significant inconvenience, not to mention a security concern. Knowing how to fix a broken window is essential for homeowners and renters alike.
This guide will walk you through the steps of repairing a broken window, ensuring you have the knowledge and tools you need to tackle this project effectively.
Assess the Damage
Before you begin, take a good look at the broken window. Determine if it is a small crack, a shattered pane, or if the entire frame is damaged. The extent of the damage will guide your broken window solutions.
If it’s a minor crack, you might only need a repair kit. For a completely shattered window, you will need to replace the glass pane.
Gather Your Tools and Materials
Once you understand the type of repair needed, gather the necessary tools and materials. For most glass window repair jobs, you will need:
- Safety goggles and gloves for protection
- A utility knife
- A putty knife
- Replacement glass
- Glazing compound or window putty
- A measuring tape
- A straight edge
- Wood or plastic shims
- Paint or varnish
Having these tools on hand will make the repair process much smoother.
Remove the Broken Glass
If the window is shattered, carefully remove the broken glass. First, put on your safety gear. Use the utility knife to cut through any paint or caulk around the frame. Gently push the glass pieces away from the frame, starting with the larger pieces. Dispose of the broken glass safely to avoid injuries.
If the pane was held in place with glazing points, remove these using the putty knife. Take your time to ensure that you don’t damage the window frame in the process.
Measure and Cut Replacement Glass
Once all the broken glass is removed, measure the opening where the glass will go. It’s essential to measure accurately to ensure a proper fit. Use your straight edge to mark the glass where you need to cut.
If you are not comfortable cutting the glass yourself, many hardware stores offer glass-cutting services. Just bring them your measurements, and they can cut the glass for you.
Install the Replacement Glass
With your replacement glass ready, it’s time to install it. Place the glass carefully into the window frame. If there are any gaps, use wood or plastic shims to hold them in place.
Next, apply a bead of glazing compound or window putty around the edges of the glass. Use the putty knife to smooth it out and ensure a tight seal. This step is crucial to prevent air leaks and to protect the glass from moisture.
Finishing Touches
After the putty has been applied, allow it to dry according to the manufacturer’s instructions. This usually takes about 24 hours. Once it is dry, you can paint or varnish the putty to match the rest of the window frame.
Finally, clean any smudges or fingerprints from the glass, and you’re done! You’ve successfully learned how to fix a broken window.
Learn How to Fix a Broken Window with Confidence
Knowing how to fix a broken window is a valuable skill that can save you time and money. Whether you’re dealing with a minor crack or a shattered pane, this guide covers everything you need to know for a successful repair.
Remember to take safety precautions while working, and if you feel uncomfortable with any step, don’t hesitate to call a professional. With the right tools and patience, you can effectively handle glass window repair on your own.
For more engaging content, explore additional blog articles available on the website!

