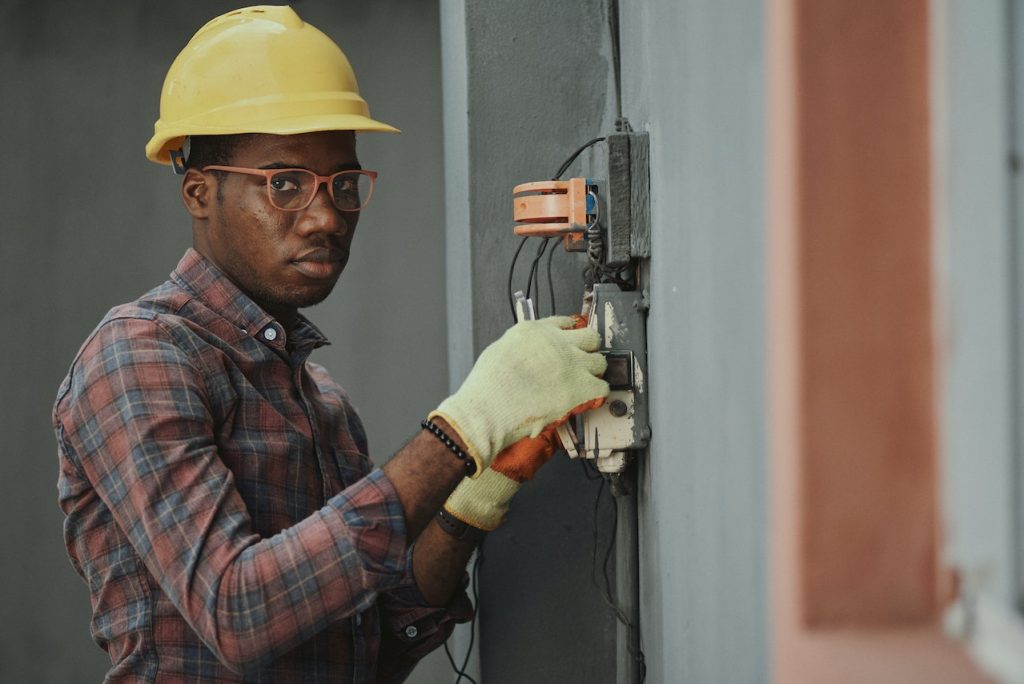
If you’re the handy type, chances are you’ve taken on a few do-it-yourself (DIY) projects around the house. From replacing light fixtures to fixing faulty electrical outlets, basic electrical repairs can be tackled with a bit of courage and the right tools. Before attempting any fixes yourself though, it’s important to consider safety measures and understand the risks involved in taking on DIY repairs. Here’s what you need to know about tackling simple electrical repairs at home.
1. Sealed butt connectors
If you’re looking to join two cables together, one easy and popular way is with a sealed butt connector. Sealed butt connectors are available in both insulated and non-insulated varieties, depending on your wiring needs. Both types work the same way: strip back the insulation from the individual ends of each wire, slide them into the connector until they touch, then press down firmly to ensure a good seal. The butt connectors come with a built-in insulation sleeve that covers and protects the wires from short circuits, eliminating the need for separate electrical tape. It’s important to note that this type of connector is not suitable for use with stranded wire, as the strands are far too thin and prone to slipping out of the connector.
2. Replace a light switch
If you need to replace a faulty light switch, then there are a few guidelines to follow. First, locate the circuit breaker that controls the switch and make sure it is turned off. Next, unscrew the existing light switch from the wall and disconnect its wires. Then, connect the new switch in the same way as before; carefully match each wire to its respective terminal on the new switch. Make sure not to mix up neutral and hot wires – often they can be distinguished by color (a black or red wire typically indicates a hot connection). Also double-check that all screws are tightened securely without over-tightening them, as this could damage your appliance’s wiring.
3. Replace an outlet
If you need to replace a faulty outlet at home, then you must take extra precautions to avoid electric shock. First, switch off the breaker that supplies electricity to the outlet then double-check it with a voltage tester before touching the wires. Next, unscrew and remove the existing outlet from the wall and disconnect its wiring. Then, connect your new outlet in the same way as before; carefully match each wire to its respective terminal on the new switch. Finally, secure all screws firmly but don’t overtighten them as this could damage your appliance’s wiring.
4. Install a dimmer
A dimmer switch is an easy way to add ambiance and atmosphere to any room. Installing a dimmer is fairly straightforward, but it’s important to remember that these switches are wired differently than regular switches – so you must be careful not to mix up the wiring of the two types. First, locate the circuit breaker that controls the switch and make sure it is turned off. Next, unscrew the existing light switch from the wall and disconnect its wires. Then, connect your new dimmer in the same manner as before; carefully match each wire to its respective terminal on the new switch.
As we saw, there are several simple electrical repairs that you can do at home if you know what to look for and how to proceed safely. From replacing light fixtures to fixing faulty outlets, these DIY projects can save you time and money in the long run – but it’s important to understand the risks involved before attempting any fixes yourself. With the right precautions taken and knowledge acquired, simple electrical repairs can be easily tackled from the comfort of your own home. Good luck!

