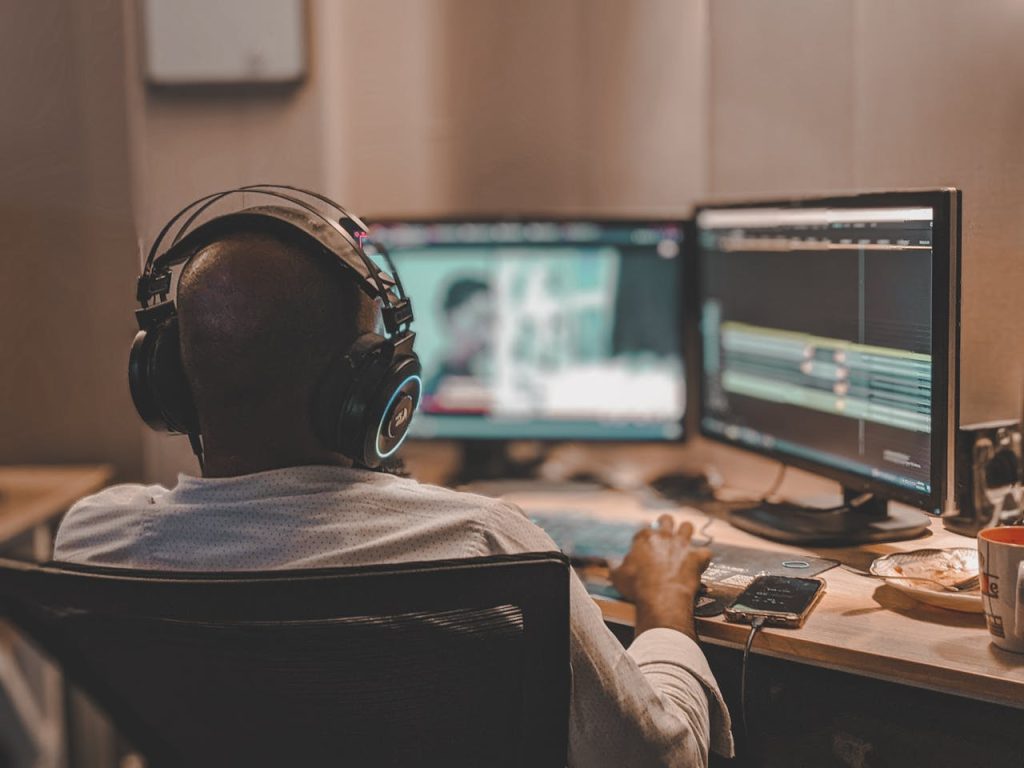
Creating a movie from scratch is an exciting and rewarding process, allowing you to bring your vision to life. Whether you’re aiming to produce a short film, documentary, or a full-length movie, understanding the essentials of moviemaking will help you achieve a polished, professional result. This guide walks you through every stage, from planning and shooting to editing and finalizing your film.
- Introduction to Moviemaking
Moviemaking is the art of capturing stories, emotions, and concepts through the lens. It involves multiple stages, each requiring creativity, attention to detail, and, importantly, the right tools. Video editing is an essential part of the process, giving filmmakers the power to shape their stories. For those on a budget, using a free video editor without watermark can make moviemaking more accessible.
- Getting Started: Pre-Production Basics
The pre-production phase lays the foundation for your film, covering everything from planning your story to organizing your shoot.
Scriptwriting and Storyboarding
A well-written script forms the core of any film, detailing dialogue, setting, and action. Once your script is finalized, you can create a storyboard—essentially a visual outline that breaks down each scene shot-by-shot, helping to visualize your narrative flow.
Planning Your Equipment and Crew
Choosing the right equipment is crucial. Decide on your camera, lighting setup, and sound equipment based on the type of film you’re making. For beginners, a smartphone camera can work wonders, though a DSLR or mirrorless camera offers more control.
Using a Free Video Editing Software
In pre-production, it’s also helpful to consider the editing software you’ll use. Many creators turn to free video editors, which offers comprehensive tools for professional-looking results without a hefty price tag.
- Production Stage: Shooting Your Film
The production stage is when you capture all the footage you need, focusing on quality and composition.
Tips for Capturing High-Quality Footage
- Stable Shots: Use tripods or stabilizers to avoid shaky footage.
- Lighting: Natural lighting works well outdoors, while artificial lighting allows more control indoors.
- Frame Composition: Apply the rule of thirds to make scenes visually appealing.
Basic Lighting and Audio
Lighting plays a big role in how viewers perceive each scene. Experiment with different light sources and angles to create the desired mood. Audio is equally important; capture clear audio to avoid re-recording in post-production.
Overcoming Common Filming Challenges
From unpredictable weather to battery life, filming can present various obstacles. Be prepared by carrying extra batteries, storage, and checking weather forecasts if you’re shooting outdoors.
- Post-Production Essentials
Once you’ve filmed your footage, it’s time to move into post-production, where the real magic happens.
Importance of Editing in Storytelling
Editing not only involves trimming footage but also arranging it to tell a compelling story. This process allows filmmakers to correct errors, enhance visuals, and ensure the film flows seamlessly.
Introduction to MiniTool MovieMaker 7.4
MiniTool MovieMaker 7.4 is a free video editing software designed to simplify video editing. Its intuitive interface and powerful tools make it ideal for both beginners and experienced editors.
Key Features and How to Use MiniTool MovieMaker 7.4
MiniTool MovieMaker offers a variety of tools for editing and polishing your footage:
1- Cutting and Trimming: Easily remove unwanted sections to keep your story concise.
2- Transitions and Effects: Add transitions to smooth scene changes and apply effects to enhance visuals.
3- Audio Editing: Insert background music, sound effects, or voiceovers to enhance the mood and add depth to scenes.
For those exploring free video editing software, MiniTool MovieMaker provides a rich set of features without additional costs, making it an invaluable resource.
Step-by-Step Guide to Using MiniTool MovieMaker
- Import Your Footage: Start by uploading all clips to the software.
- Arrange and Edit: Organize your clips on the timeline, cutting and adjusting as necessary.
- Add Transitions and Effects: Enhance each scene with transitions for smooth shifts.
- Audio Editing: Add a soundtrack or voiceover to complement the visuals.
- Export Your Film: Once satisfied, export your final film in the preferred format.
- Finishing Touches and Exporting Your Film
Reviewing and Polishing Edits
Before finalizing your film, carefully review it for any minor adjustments or errors. Ensure consistency in color grading, audio levels, and that all effects align with your vision.
Choosing the Right Format
Consider your film’s target audience and the platform you plan to share it on. MiniTool MovieMaker offers various export formats, including MP4 and AVI, which are compatible with most social media platforms and video players.
Saving and Sharing
Once your film is exported, you can save it directly to your computer or share it online. This step is a rewarding moment, as you finally see all your hard work come together!
Conclusion
Moviemaking is a journey that combines creativity, technical skill, and a touch of patience. By following the steps in this guide—from pre-production to post-production—you’ll be well-equipped to bring your vision to life. MiniTool MovieMaker 7.4 is an invaluable resource that simplifies editing, making it an ideal choice for anyone looking for a free video editor to enhance their storytelling.
FAQs
- What equipment do I need to start making movies?
You can start with a basic camera, smartphone, tripod, and a free video editing software like MiniTool MovieMaker. - Why is lighting important in filmmaking?
Good lighting enhances the quality and mood of each scene, making the visuals more engaging for viewers. - Can I edit videos for free?
Yes! MiniTool MovieMaker offers a robust free video editor option that supports comprehensive editing tools without a subscription. - What’s the best format to export a film in?
MP4 is widely compatible with most devices and platforms, making it a popular choice for exporting films.
